When it comes to tiling, grout is an essential component that plays a significant role in achieving a professional finish. Grout for tiles is a cement-based material that fills the gaps between tiles, providing structural stability and preventing moisture from penetrating the surface. There are various types of grout available in the market, each with its own unique characteristics. In this article, we will discuss how to choose and apply the right grout for your tiles, along with tips for achieving a flawless finish.
Types of Grout for Tiles
1. Cementitious Grout
Cementitious grout is the most commonly used type of grout for tiles. It is a cement-based material that is mixed with water to create a thick paste. Cementitious grout is available in sanded and unsanded varieties. Sanded grout is used for wider gaps between tiles, while unsanded grout is suitable for narrower gaps. Cementitious grout is easy to apply and is available in a range of colors to match your tiles.
2. Epoxy Grout
Epoxy grout is a two-part material that consists of epoxy resin and hardener. It is an ideal choice for areas that are exposed to high moisture, such as bathrooms and kitchens. Epoxy grout is water-resistant, stain-resistant, and easy to clean. It is available in a range of colors, making it a versatile option for tiles of any color.
3. Urethane Grout
Urethane grout is a synthetic material that is made of urethane resins and isocyanate. It is a flexible material that can expand and contract with the movement of the tiles, making it an ideal choice for areas that are exposed to vibration, such as floors. Urethane grout is also water-resistant, stain-resistant, and easy to clean. It is available in a range of colors to match your tiles.
Choosing the Right Grout
Choosing the right grout for your tiles depends on various factors, such as the size of the gap between the tiles, the location of the tiles, and the color of the tiles. Here are some tips to help you choose the right grout for your tiles:
1. Determine the Gap Size
The first step in choosing the right grout is to determine the size of the gap between the tiles. If the gap is less than 1/8 inch, use unsanded grout. For gaps larger than 1/8 inch, use sanded grout.
2. Consider the Location of the Tiles
The location of the tiles also plays a role in choosing the right tile adhesive. For areas that are exposed to high moisture, such as bathrooms and kitchens, use epoxy or urethane grout. For other areas, cementitious grout is a suitable choice.
3. Match the Color of the Tiles
Choose a grout color that matches the color of your tiles. This will create a seamless look and give your tiles a professional finish.
Applying Grout
Once you have chosen the right grout for your tiles, it’s time to apply it. Here are some tips to help you achieve a flawless finish:
1. Prepare the Surface
Before applying grout, make sure the surface is clean and dry. Remove any dust, debris, or adhesive residue from the tiles.
2. Mix the Grout
Mix the grout according to the manufacturer’s instructions. Make sure the consistency of the grout is thick enough to hold its shape but not too thick that it is difficult to spread.
3. Apply the Grout
Using a rubber float, apply the grout to the surface at a 45-degree angle, pressing it into the gaps between the tiles. Work in small sections, and make sure the grout is evenly distributed. Avoid applying too much grout at once, as this can cause it to dry out too quickly.
4. Wipe Away Excess Grout
Once you have applied the grout, use a damp sponge to wipe away the excess grout. Rinse the sponge frequently in clean water to avoid spreading grout residue onto the tiles. Wipe the surface gently to avoid removing too much grout.
5. Let the Grout Dry
Let the grout dry for the amount of time recommended by the manufacturer. Avoid walking on the tiles or exposing them to moisture until the grout has completely dried.
6. Polish the Tiles
After the grout has dried, use a dry cloth or a polishing pad to buff the tiles and remove any grout haze. This will give your tiles a shiny finish and enhance their appearance.
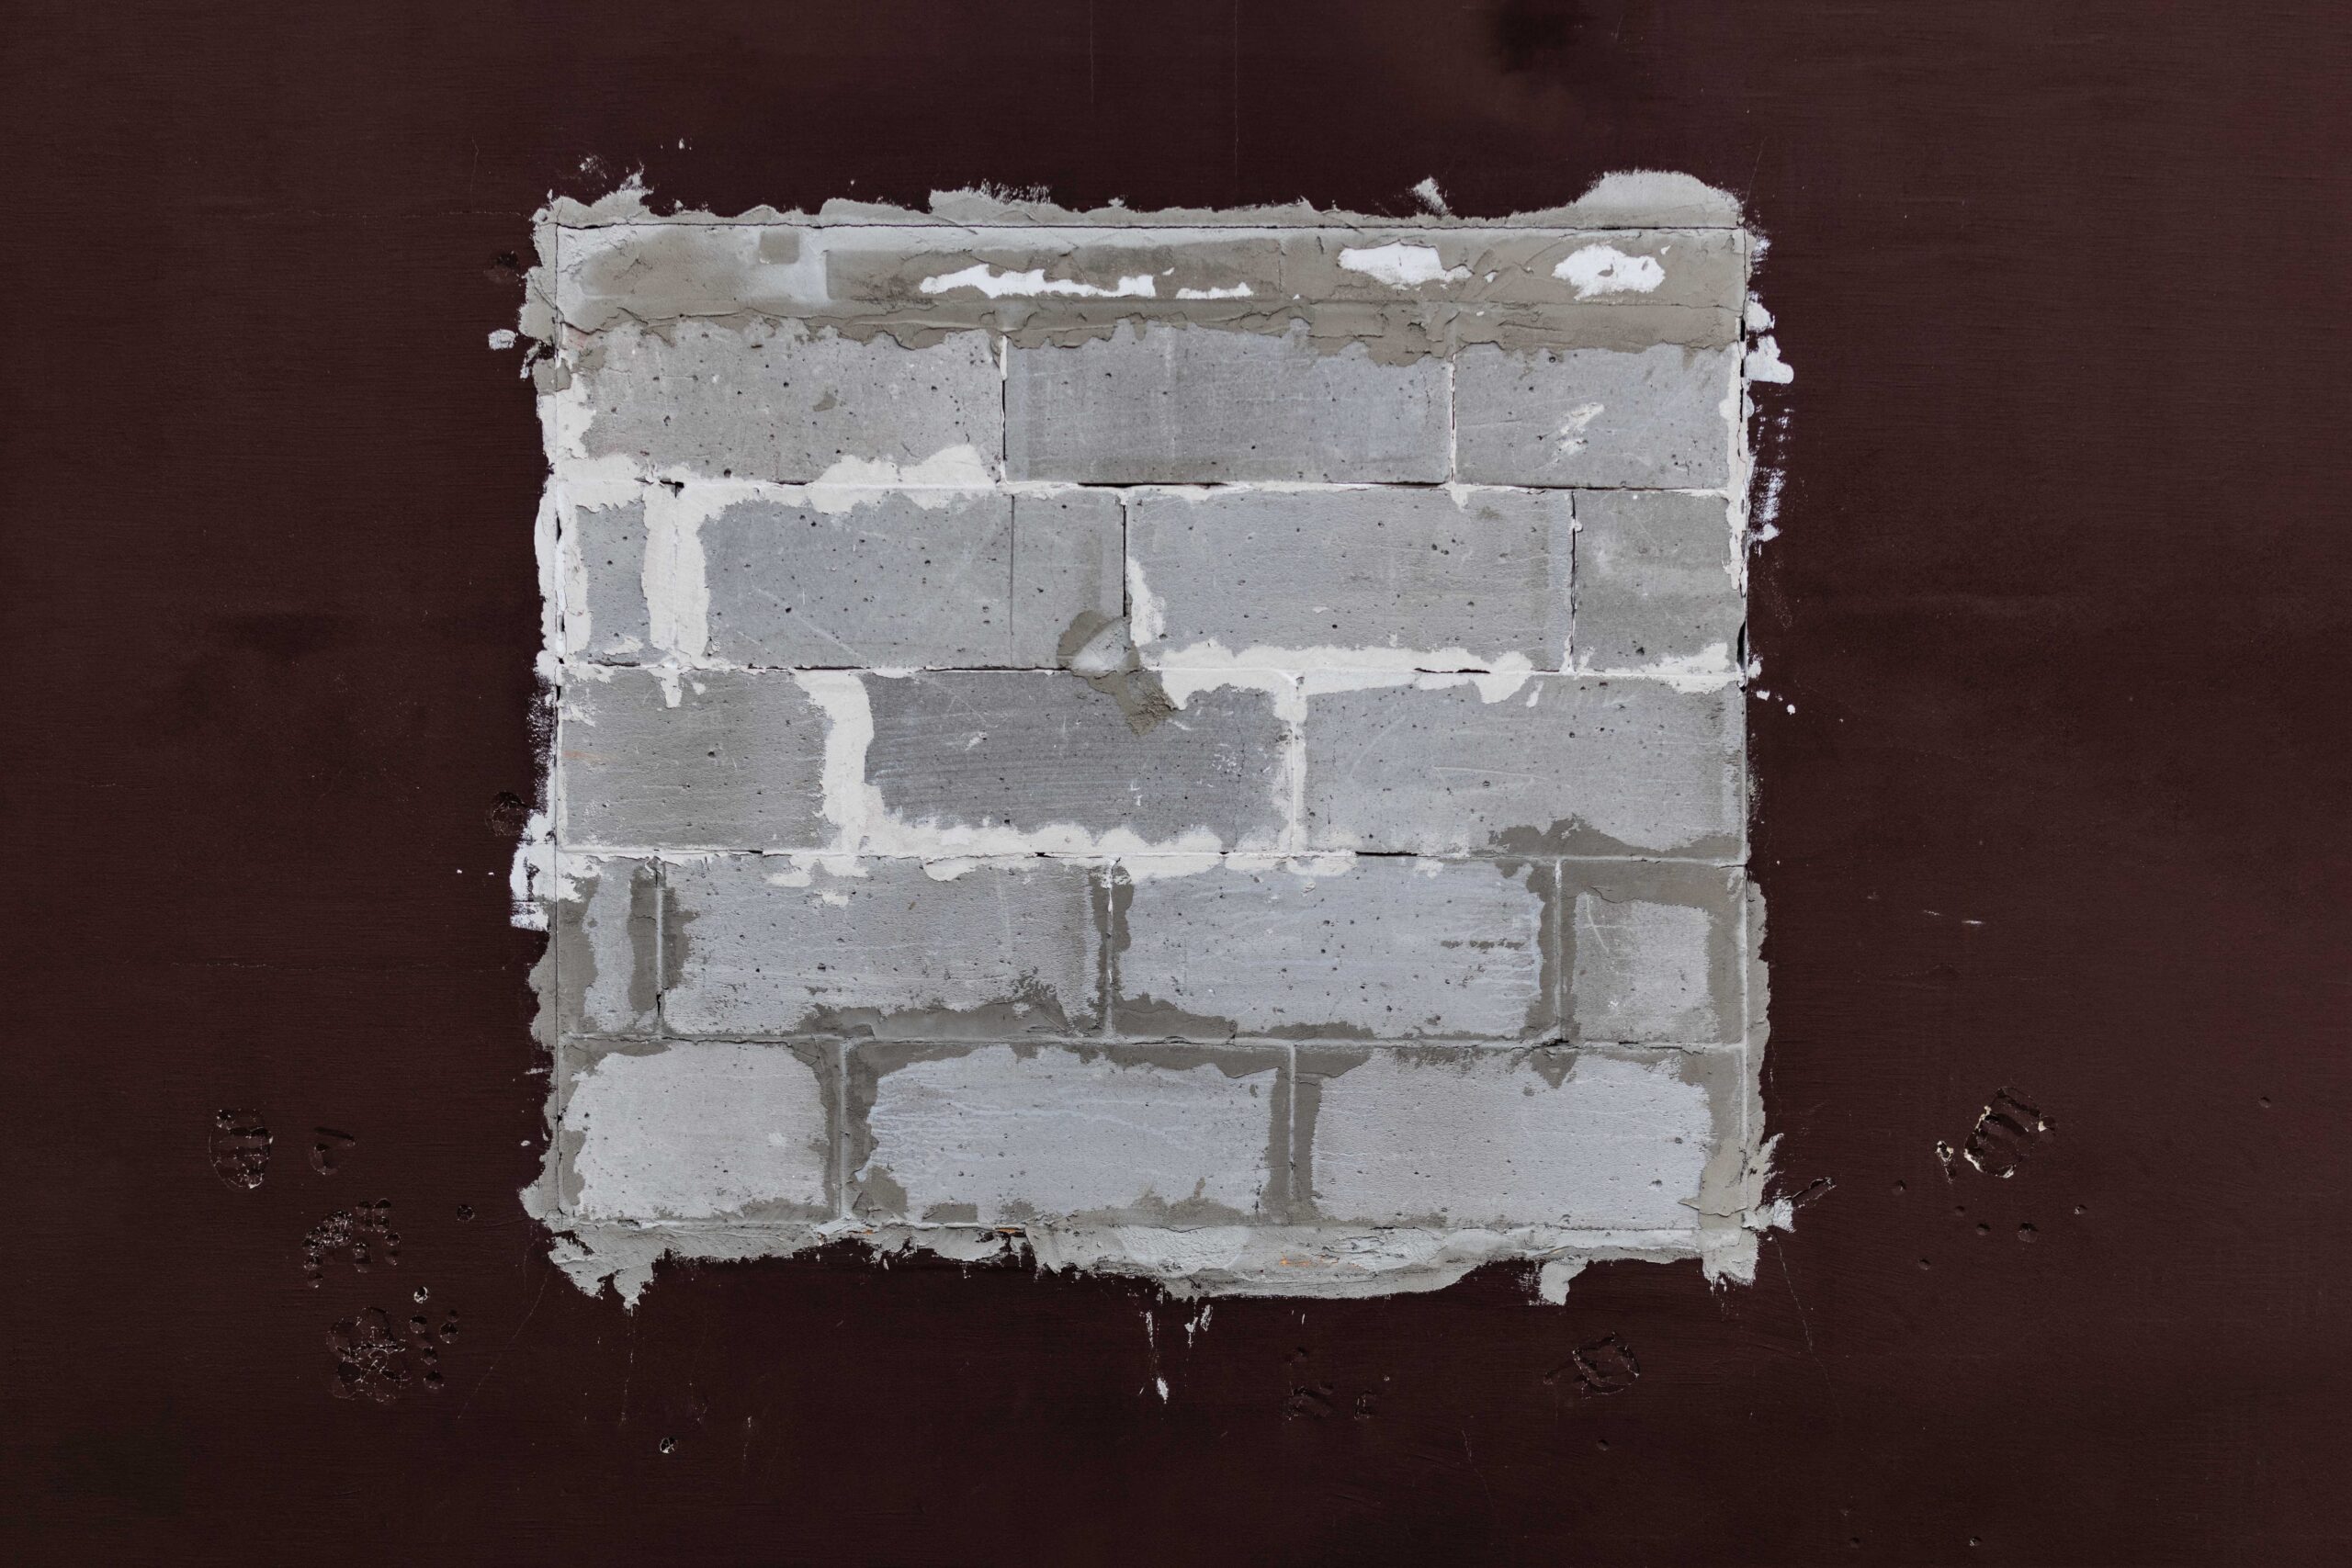
Cement Plastering for Tiles
Cement plastering is another essential component in achieving a professional finish for tiles. It is a thin layer of cement-based material that is applied to the surface before tiling. Cement plastering provides a smooth and level surface for the tiles to adhere to, preventing them from cracking or shifting over time.
Here are some tips for applying cement plastering for tiles:
1. Prepare the Surface
Before applying cement plastering, make sure the surface is clean and dry. Remove any dust, debris, or adhesive residue from the surface.
2. Mix the Plaster
Mix the plaster according to the manufacturer’s instructions. Make sure the consistency of the plaster is smooth and free of lumps.
3. Apply the Plaster
Using a trowel, apply the plaster to the surface at a 45-degree angle, spreading it evenly over the surface. Work in small sections, and make sure the plaster is level and smooth.
4. Let the Plaster Dry
Let the plaster dry for the amount of time recommended by the manufacturer. Avoid walking on the surface or exposing it to moisture until the plaster has completely dried.
5. Sand the Plaster
Once the plaster has dried, use sandpaper or a sanding block to smooth out any rough spots or uneven areas. This will provide a smooth surface for the tiles to adhere to.
Conclusion
Grout and cement plastering are essential components in achieving a professional finish for tiles. Choosing the right grout depends on various factors, such as the size of the gap between the tiles, the location of the tiles, and the color of the tiles. Applying grout requires preparation, proper mixing, and even distribution to avoid creating a messy finish. Cement plaster provides a smooth and level surface for tiles to adhere to, preventing them from cracking or shifting over time. Proper preparation and application of cement plastering can also enhance the longevity of your tiles. With these tips, you can achieve a flawless and professional finish for your tiles.


+ There are no comments
Add yours